
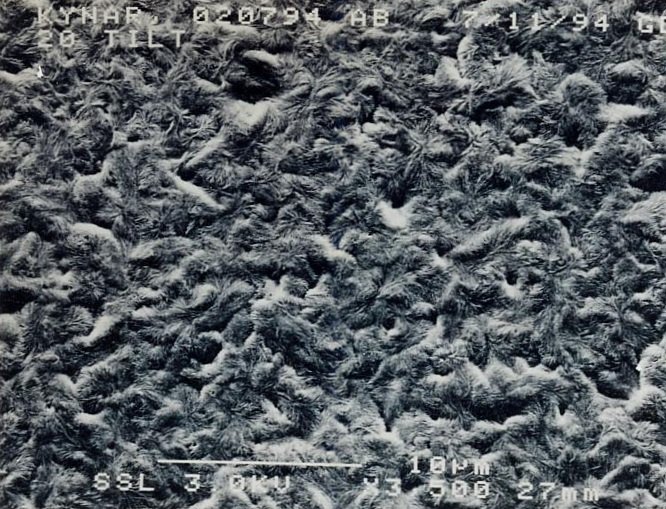
Fluorinar-H™ and Fluorinar-C™ PVDF filaments are ideal for 3D printing on consumer and prosumer grade printers without the need for high temperature print heads or enclosed and heated chambers. The many desirable material properties of PVDF arise from both the chemical structure and high crystallinity of the polymer. The SEM micrograph on the left shows the solid semicrystalline surface of PVDF at 3500x. As the printed layers cool and transition from the melt to a solid, stress can build due to volume change resulting in separation of the part from the print bed.
Adhesion is critical during the printing process. The printing result is generally unfavorable if adhesion between the part and the build plate is lost during the printing process. There are a number of steps that can be taken to enhance adhesion and improve the outcome of your next PVDF print:
- Print at an extrusion temperature between 240 and 260 C.
- Print on a glass bed heated to 100 C.
- Use a light layer of Elmer’s disappearing purple glue on the glass for adhesion. Other PVA adhesives have not been as effective. This adhesion layer should be applied in one uniform pass with no purple color visible. After printing the PVDF part, the adhesive should be removed with warm water and reapplied.
- Print with a single layer 10 – 15 mm brim attached to the part. (Brims are typically not required for Fluorinar-C™)
- Eliminate points of stress concentration in the part design such as sharp corners and abrupt edges. Consider using a gradual fillet transition between the part surface in contact with the print bed and the vertical walls. (Stress concentration does not appear to be a problem for Fluorinar-C™)
- Layer height can be 0.1 – 0.4 mm but should not exceed the diameter of the extruder.
- Fluorinar-H™ print speed should be around 40 mm/s. Set a slower print speed for the brim and first layer. When printing Fluorinar-C™ above 50 mm/s start adding fan cooling to maximum of 40%.
- Keep the cooling fans turned off. Fluorinar-H™ filaments likes to run hot.
- If the part is small it can help to print multiple copies which effectively increases the layer perimeter. The most recent layer on the first part is allowed to cool while the same layer on the second part is printing.
- Increase the initial layer line width to 105%. This presses the first layer into the print bed and improves adhesion.
- There may be some additional settings unique to your slicing software. For instance, the Cura slicer modified for Ultimaker has the infill patterns cubic, quarter cubic and octet which vary the location of the filament pattern on each layer. This software also has a gradual infill steps parameter which allows the infill to be at a small percentage throughout the print and then increase to a larger percentage below any top surfaces. This helps to improve the appearance of the visible outer surface. Both of these parameters reduce filament consumption, provide quicker print times, greater part strength and result in flatter print surfaces.
Additional information about Fluorinar™ PVDF filament and PVDF in general can be found on the following pages:
- Fluorinar-C™ 3D Filament Technical Data Sheet
- Fluorinar-C™ 3D Filament Safety Data Sheet
- Fluorinar-H™ 3D Filament Technical Data Sheet
- Fluorinar-H™ 3D Filament Safery Data Sheet
- Kynar® Chemical Resistance Chart
- Fluorinar-H™ PVDF Filament Overview
- Fluorinar-C™ PVDF Filament Overview
- PVDF Filament for Industrial 3D Printing
- Successful Prints with Fluorinar™ PVDF Filaments